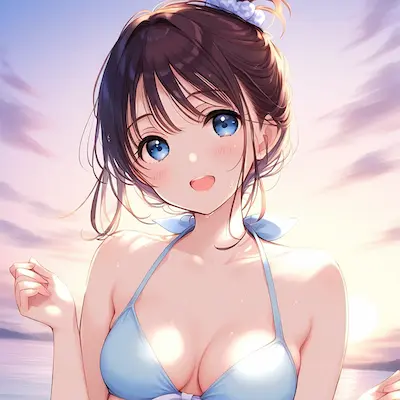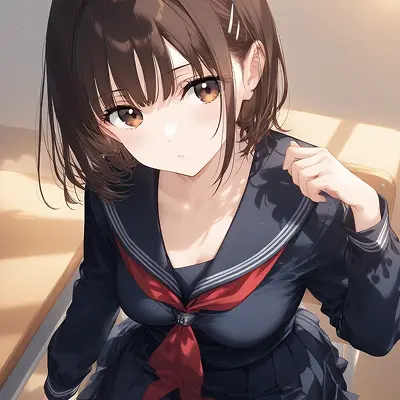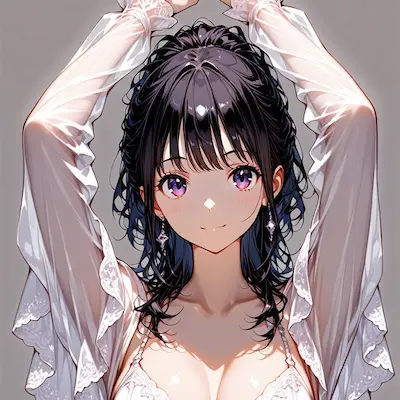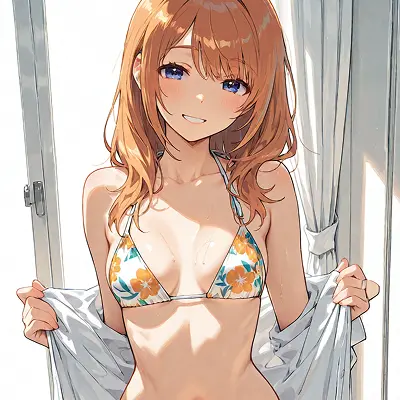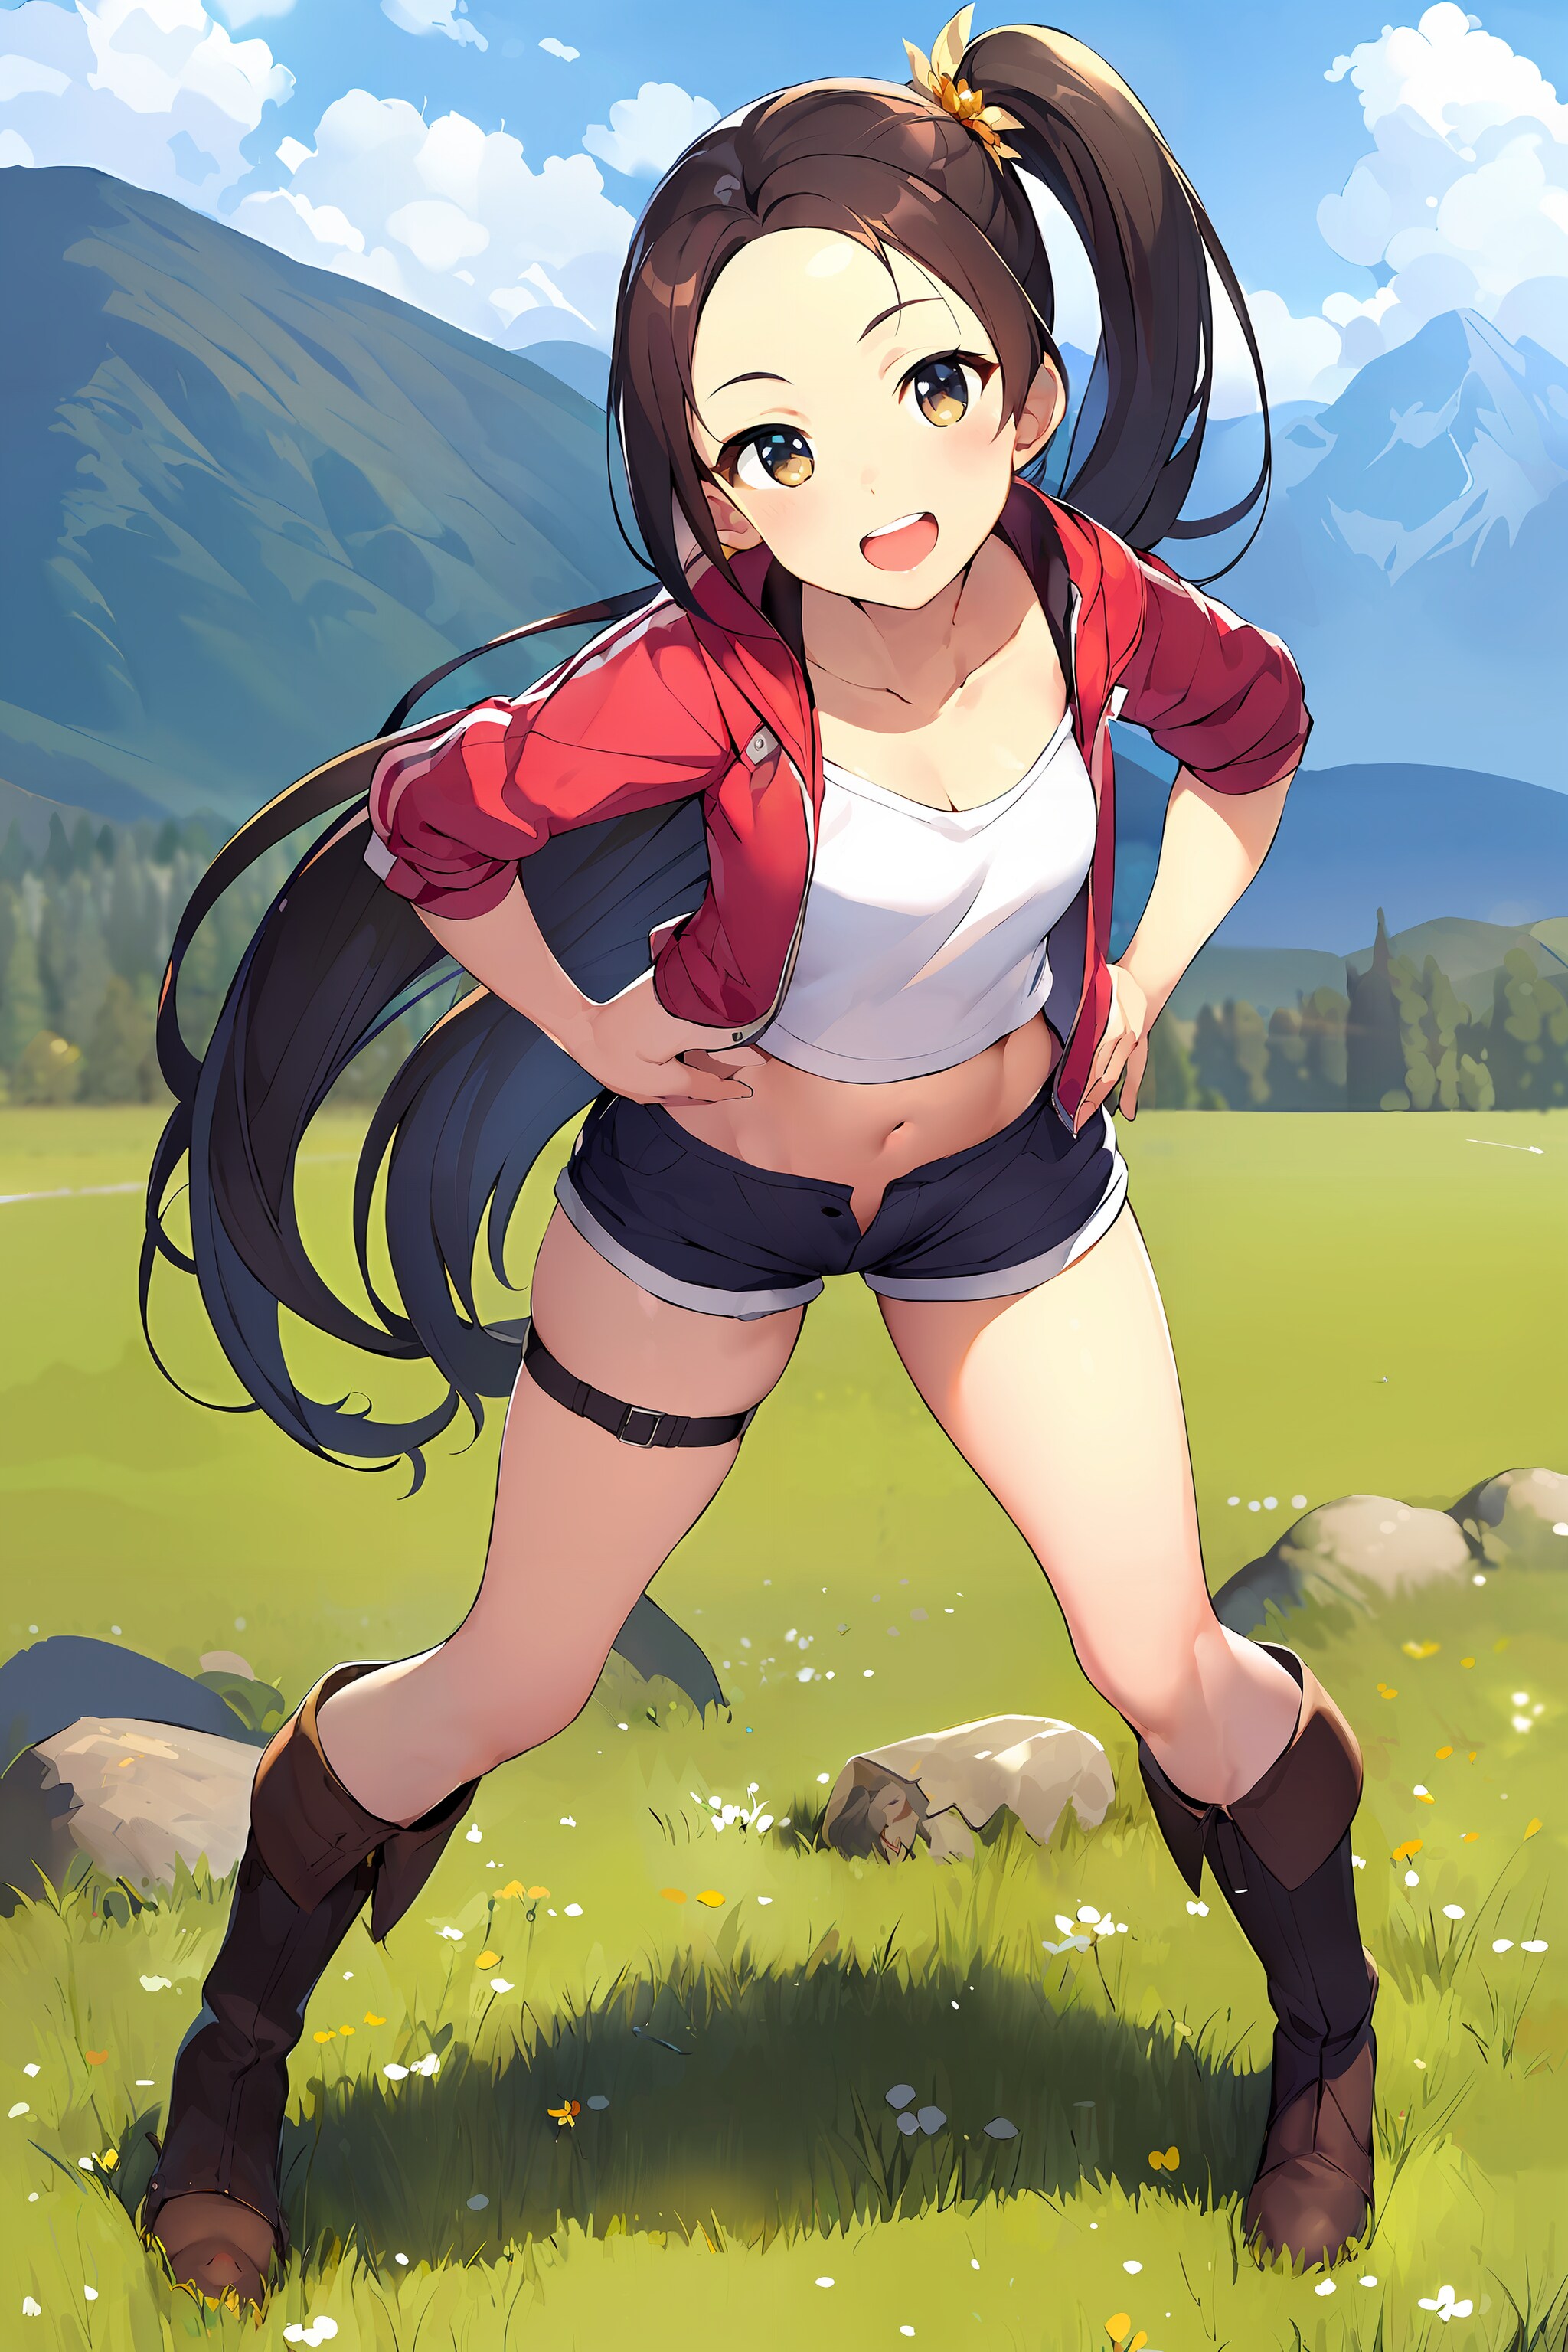
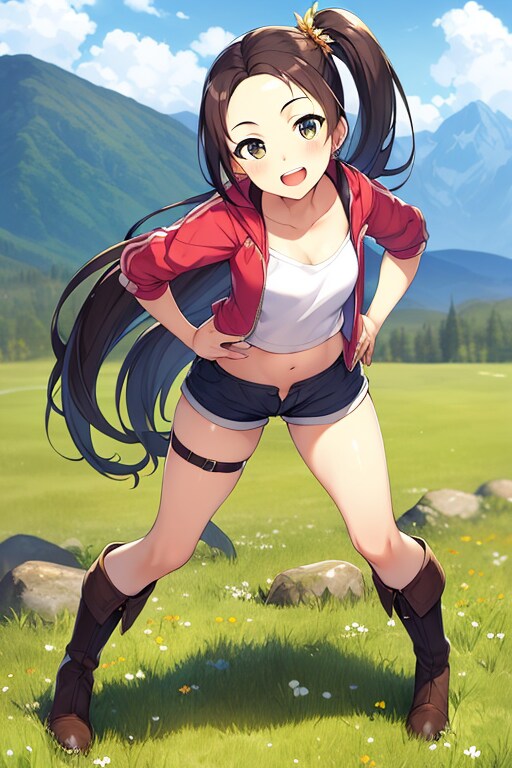


効果練習:大きな解像度の画像ファイルの単純な出力 (低 VRAM 要件)
使用したAI
Stable Diffusion
考える方向:
txt2img を使用して選択用の 512 pix 画像を迅速かつ大量に生成し、Mod: Ultimate-Upscale を使用して選択した画像を拡大します。
予防:
拡大する前に、部分的な修正 (Inpaint) を完了しておく必要があります (指の修正や顔の修正など)。
実際の操作プロセス:
Step1. 機能を拡張する(Extensions)Ultimate-upscale をインストールし、アプリケーションの再起動を完了します。
https://github.com/Coyote-A/ultimate-upscale-for-automatic1111.git
Step2. txt2img を使用して、選択用の 512 pix 画像を迅速かつ大量に作成し、選択した画像の欠陥修復を最初に完了します。
Step3. 画像情報(PNG Info)を使って修復した画像を読み込み、img2imgをクリックして「Seed」「Prompt」などの設定を取り込みます。
Step4. img2imgで画像拡大完了
(1) 再描画範囲「Denoising」を0.4以下に設定し、画像が大きい場合は再描画範囲「Denoising」を低く設定する。
(2)以下の「script」でUltimate SD Upscaleを選択して設定
倍率「Scale」= 2
アップスケーラーアルゴリズム (Upscaler)=R-ESRGAN 4x+ Anime6B
タイプ(Type)=Chess
(3)プレス生成
(4) img2img を再度選択して、連続ズームイン用の画像を生成します。
*パラメータは変更されていません
512 pix >> 1024 pix >> 2048 pix >> 4096 pix...など
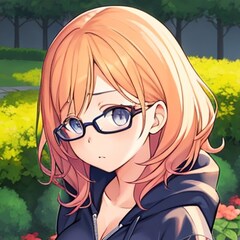
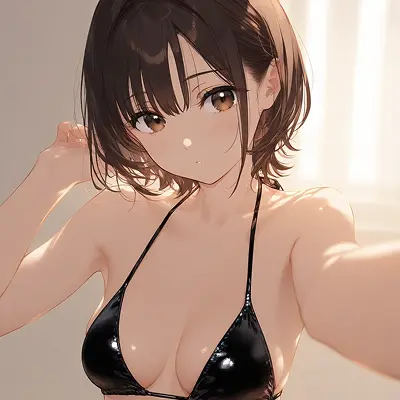
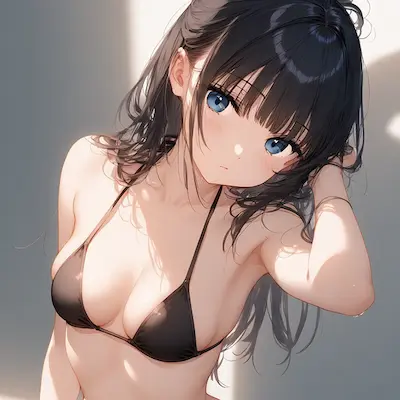
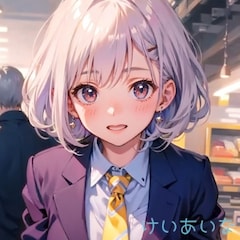
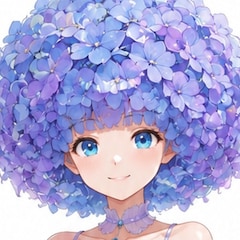
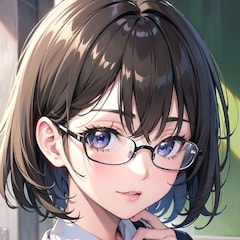
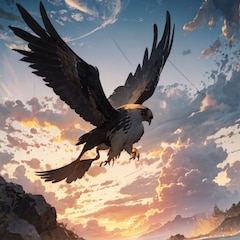
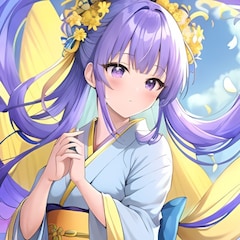
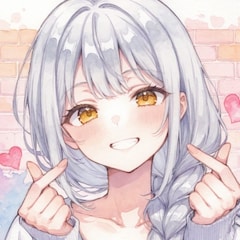
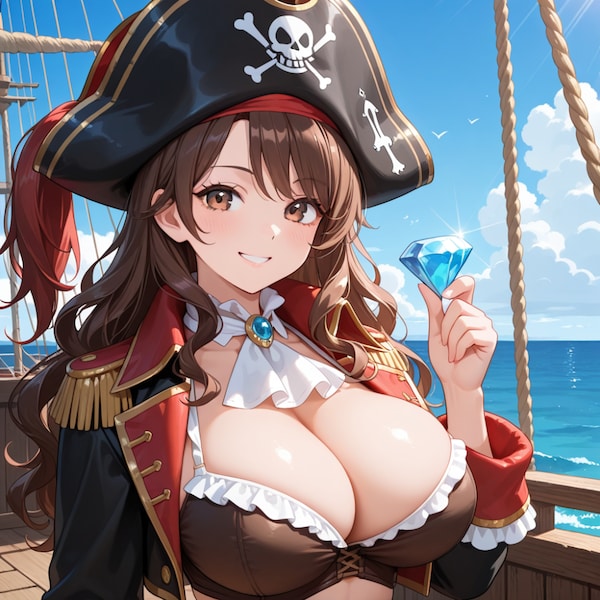
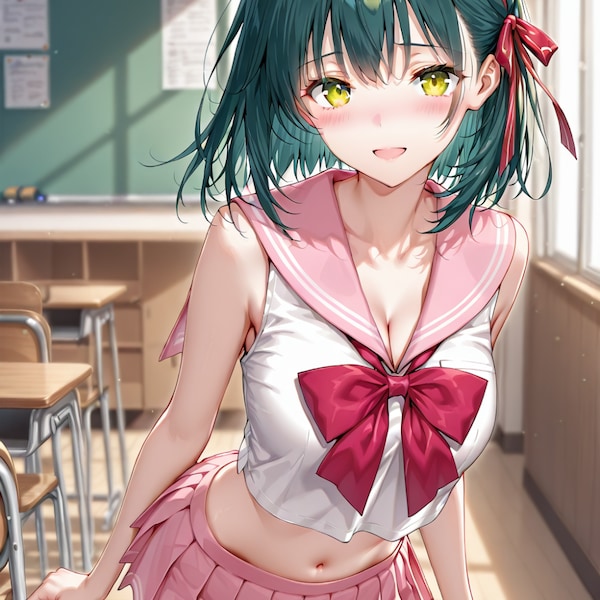
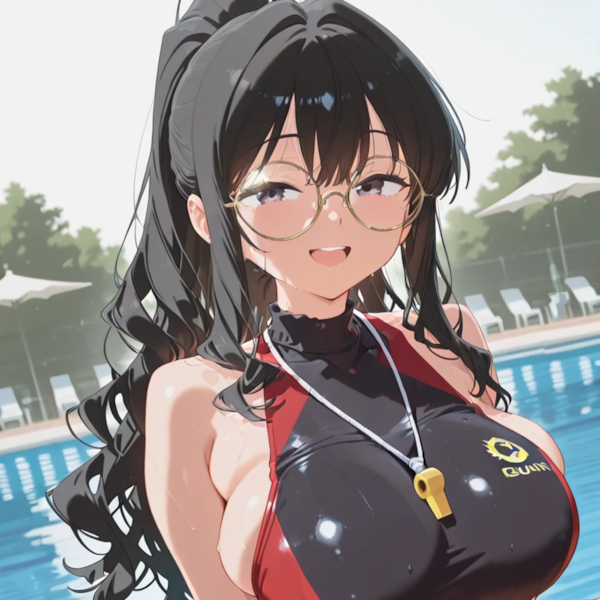
注:私の写真はデモンストレーションであり、傷を修復していないので、両手の指の位置に明らかな傷が見られます...
Model:Anything-v5
Thinking direction:
Use txt2img to quickly and mass-produce 512 pix images for selection, and use Mod: ultimate-upscale to zoom in on the selected images.
Precautions:
Partial correction (Inpaint) should be completed before zooming in (such as finger correction or face correction).
Actual operation process:
Step1. To expand the function (Extensions)
Install ultimate-upscale and complete the application restart.
https://github.com/Coyote-A/ultimate-upscale-for-automatic1111.git
Step2. Use txt2img to quickly and mass-produce 512 pix images for selection, and complete the defect repair of the selected images first.
Step3. Use the picture information (PNG Info) to read the picture that has been repaired, and click img2img to import the settings such as "Seed" and "Prompt".
Step4. Complete picture enlargement in img2img
(1) The redrawing range "Denoising" is set below 0.4, and the redrawing range "Denoising" should be set lower when the image is larger.
(2) Select Ultimate SD Upscale in the "script" below and set
Magnification "Scale" = 2
Upscaler algorithm (Upscaler)=R-ESRGAN 4x+ Anime6B
Type (Type) = Chess
(3) Press generate
(4) Select img2img again to generate the image for continuous zooming in
*parameter unchanged
512 pix >> 1024 pix >> 2048 pix >> 4096 pix...etc
Note: Because I show my picture as a demonstration without repairing the flaws, you can see the obvious flaws in the position of the fingers of both hands...
txt2img を使用して選択用の 512 pix 画像を迅速かつ大量に生成し、Mod: Ultimate-Upscale を使用して選択した画像を拡大します。
予防:
拡大する前に、部分的な修正 (Inpaint) を完了しておく必要があります (指の修正や顔の修正など)。
実際の操作プロセス:
Step1. 機能を拡張する(Extensions)Ultimate-upscale をインストールし、アプリケーションの再起動を完了します。
https://github.com/Coyote-A/ultimate-upscale-for-automatic1111.git
Step2. txt2img を使用して、選択用の 512 pix 画像を迅速かつ大量に作成し、選択した画像の欠陥修復を最初に完了します。
Step3. 画像情報(PNG Info)を使って修復した画像を読み込み、img2imgをクリックして「Seed」「Prompt」などの設定を取り込みます。
Step4. img2imgで画像拡大完了
(1) 再描画範囲「Denoising」を0.4以下に設定し、画像が大きい場合は再描画範囲「Denoising」を低く設定する。
(2)以下の「script」でUltimate SD Upscaleを選択して設定
倍率「Scale」= 2
アップスケーラーアルゴリズム (Upscaler)=R-ESRGAN 4x+ Anime6B
タイプ(Type)=Chess
(3)プレス生成
(4) img2img を再度選択して、連続ズームイン用の画像を生成します。
*パラメータは変更されていません
512 pix >> 1024 pix >> 2048 pix >> 4096 pix...など
注:私の写真はデモンストレーションであり、傷を修復していないので、両手の指の位置に明らかな傷が見られます...
Model:Anything-v5
Thinking direction:
Use txt2img to quickly and mass-produce 512 pix images for selection, and use Mod: ultimate-upscale to zoom in on the selected images.
Precautions:
Partial correction (Inpaint) should be completed before zooming in (such as finger correction or face correction).
Actual operation process:
Step1. To expand the function (Extensions)
Install ultimate-upscale and complete the application restart.
https://github.com/Coyote-A/ultimate-upscale-for-automatic1111.git
Step2. Use txt2img to quickly and mass-produce 512 pix images for selection, and complete the defect repair of the selected images first.
Step3. Use the picture information (PNG Info) to read the picture that has been repaired, and click img2img to import the settings such as "Seed" and "Prompt".
Step4. Complete picture enlargement in img2img
(1) The redrawing range "Denoising" is set below 0.4, and the redrawing range "Denoising" should be set lower when the image is larger.
(2) Select Ultimate SD Upscale in the "script" below and set
Magnification "Scale" = 2
Upscaler algorithm (Upscaler)=R-ESRGAN 4x+ Anime6B
Type (Type) = Chess
(3) Press generate
(4) Select img2img again to generate the image for continuous zooming in
*parameter unchanged
512 pix >> 1024 pix >> 2048 pix >> 4096 pix...etc
Note: Because I show my picture as a demonstration without repairing the flaws, you can see the obvious flaws in the position of the fingers of both hands...
呪文
呪文を見るにはログイン・会員登録が必須です。
イラストの呪文(プロンプト)
jacket partially removed, heart in eye, burnt clothes, holding fishing rod, kanji, doujin cover, pentagram, tape gag, adjusting headwear, red socks, friends, cloud print, coke-bottle glasses, oral invitation, competition school swimsuit, barbell piercing, gradient legwear, prisoner, blood on breasts, wind chime, carrying over shoulder, tape measure, flaming weapon
イラストの呪文(ネガティブプロンプト)
jacket partially removed, heart in eye, burnt clothes, holding fishing rod, kanji, doujin cover, pentagram, tape gag, adjusting headwear, red socks, friends, cloud print, coke-bottle glasses, oral invitation, competition school swimsuit, barbell piercing, gradient legwear, prisoner, blood on breasts, wind chime, carrying over shoulder, tape measure, flaming weapon
- Steps 50
- Scale 7
- Seed 2813337950
- Sampler DPM++ SDE Karras
- Strength
- Noise
- Steps 50
- Scale 7
- Seed 2813337950
- Sampler DPM++ SDE Karras